By James Squires, Conservator
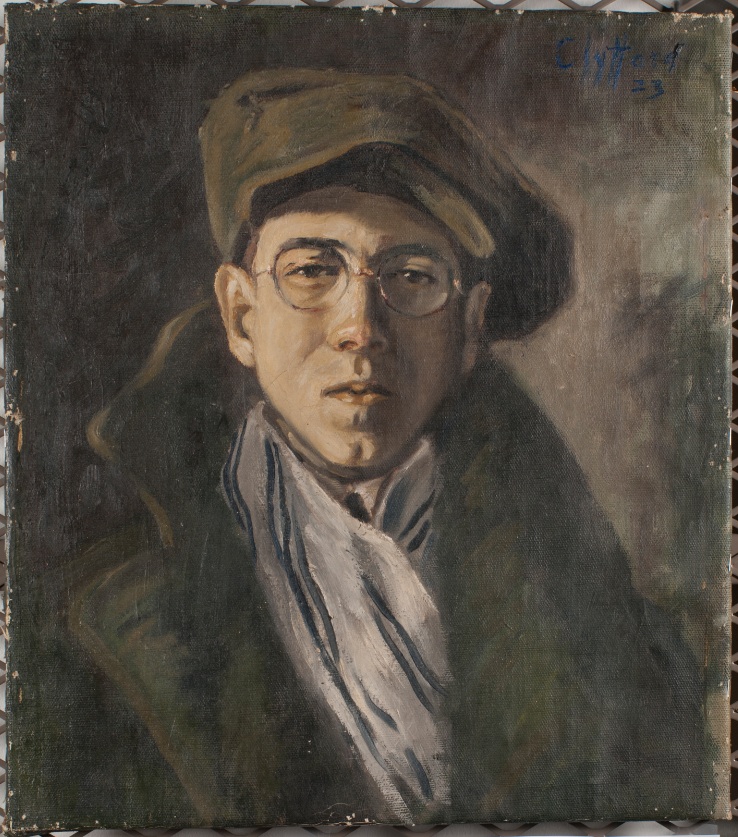
The self-portrait is one of Still’s earliest known pictures. He was 19 years old when he painted this picture.
Generally speaking, conservation treatments are divided into four phases:
- Initial stabilization of loose and flaking paint
- Removal or reduction of discolored coatings and grime
- Further structural stabilization of both media (ground and paint) layers and supports (canvas, stretcher)
- Cosmetic (reintegration of damages and losses into the picture)
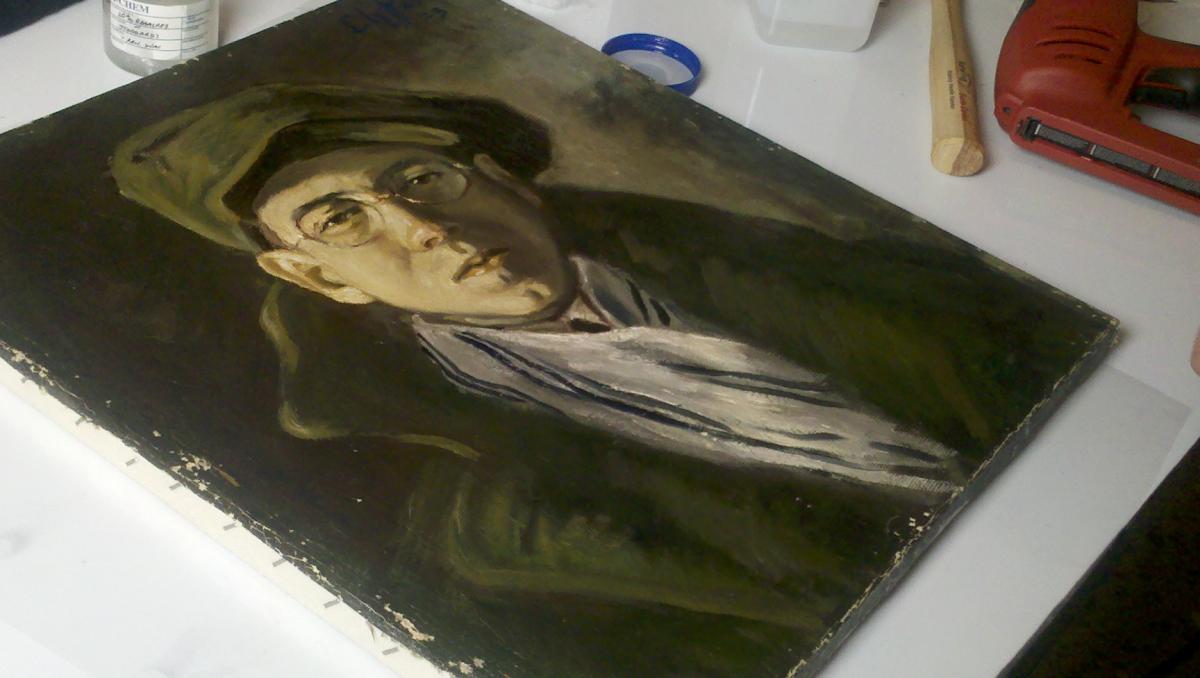
BEFORE TREATMENT
AFTER TREATMENT
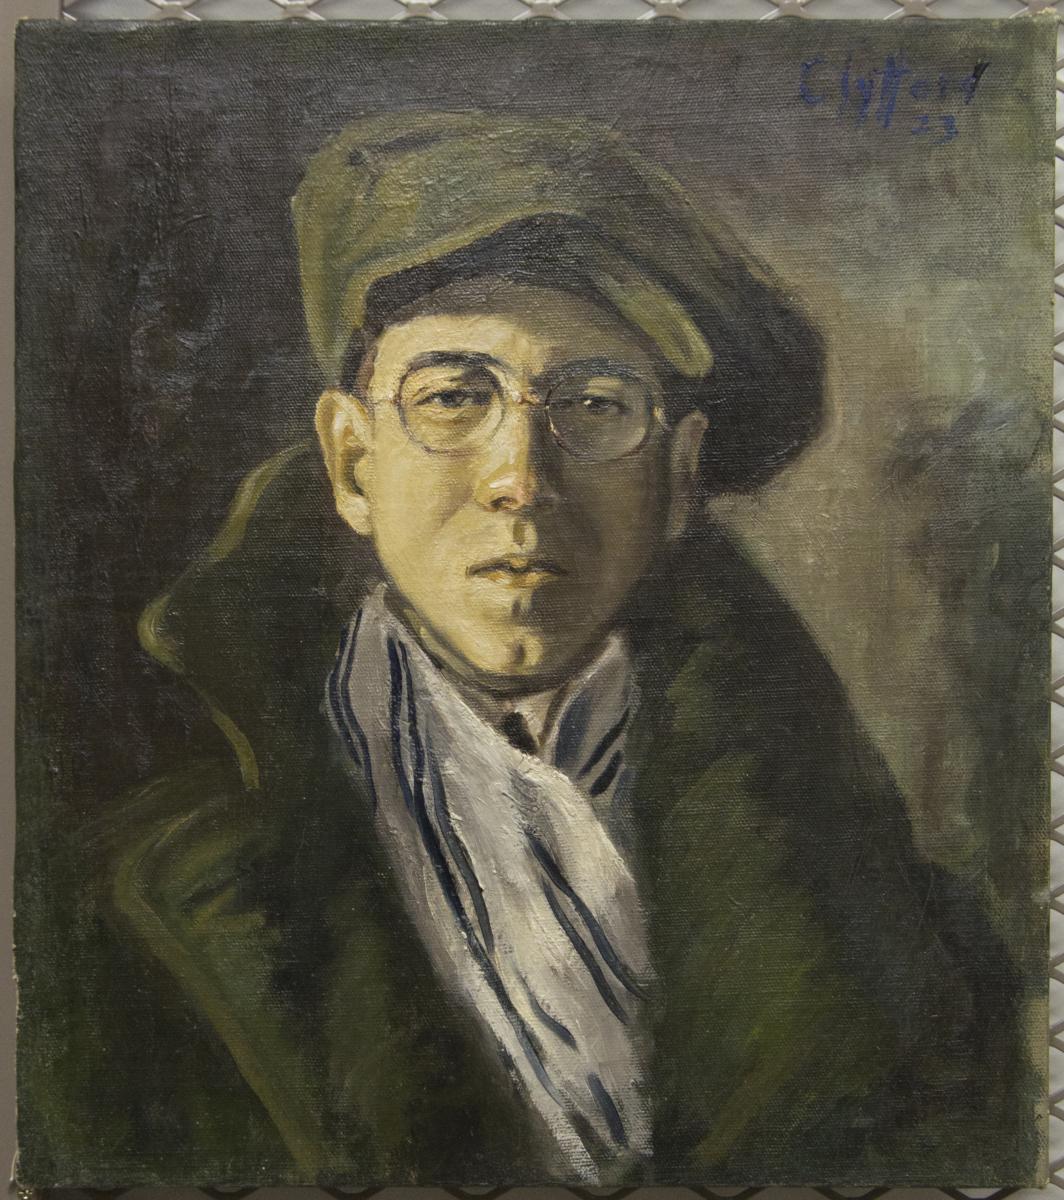
Compare the white of Still’s scarf or the detail in his jacket to see the remarkable difference conservation can make. The differences between the before and after shots go deeper than the paint surface, though. The canvas was also treated, ensuring the picture will remain intact for exhibition and study. Read on to learn about the conservation process.
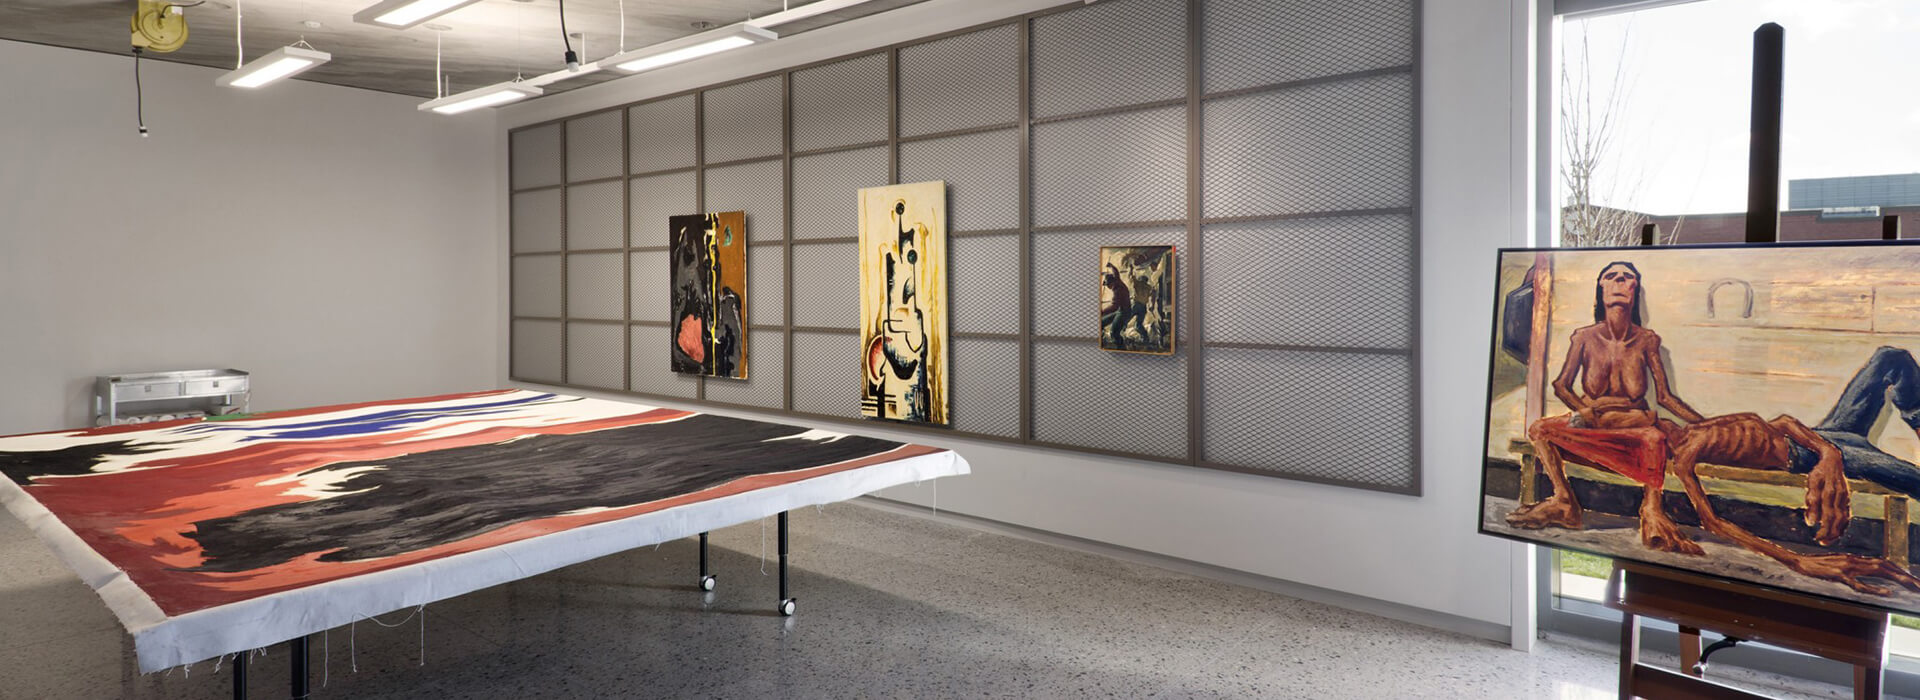
VACUUM HOT TABLE

At this point in the process, Still’s self portrait, nearly one hundred years old, has already been cleaned and the edge losses stabilized. Here, the painting is undergoing a humidification treatment using a vacuum hot table. The introduction of moisture and heat to the canvas reverse, under light vacuum pressure, makes the yarns more pliable and thus allows for the reduction of planar distortions (look closely at the Before Treatment shot, around the signature, to see these distortions). Before the painting is put in the vacuum, it is separated from the original stretcher and the tacking margins are flattened.
RESTRETCHING THE CANVAS
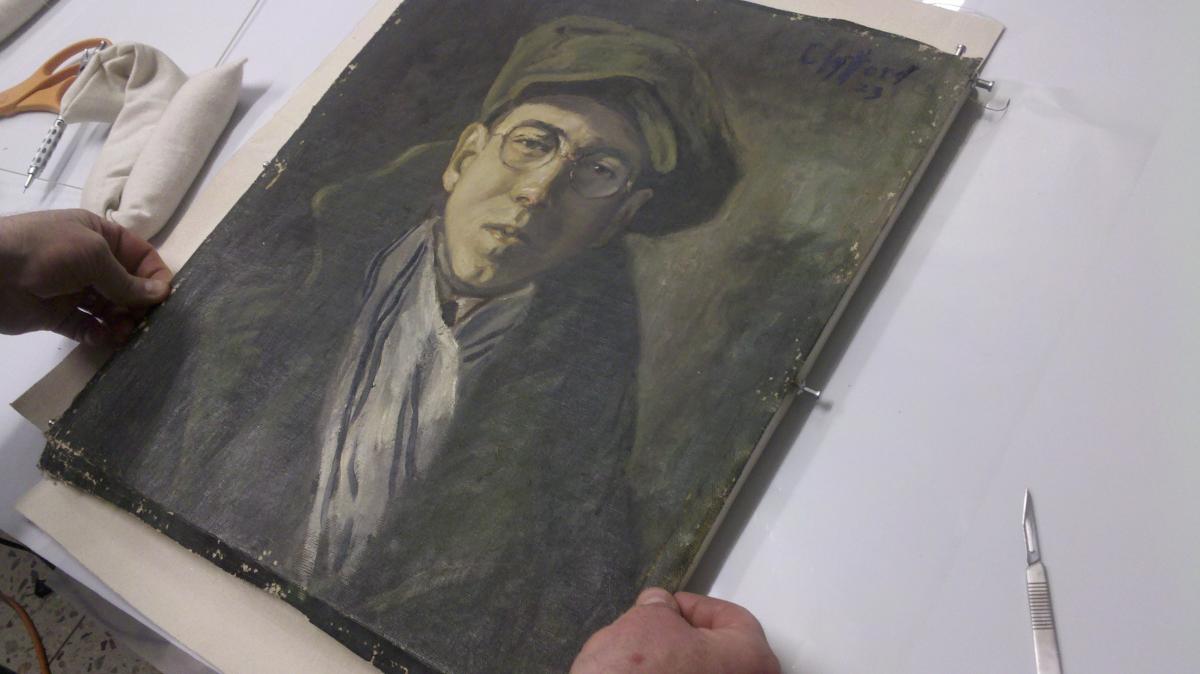
After the canvas is humidified, it can be restretched. See the white flaps that extend off the sides of the painting? Those are canvas edge-strips. They are adhered to the reverse of the canvas to reduce stress on the original “fold edge” so it does not tear while being restretched.
Here, I am placing the painting over the original stretcher. There are several things that are crucial to keep in mind here:
- The painting must be perfectly oriented to each corner of the stretcher
- Surface tension must be even, so distortion doesn’t occur again in the future.
Later, I will replace those pins with steel staples.
VARNISH

Isolating varnish will both saturate the paint surface slightly and provide a barrier between the original paint surface and the conservator’s “filling and inpainting” that fixes unsightly paint loss (those white marks on the canvas and its edges). Paint loss has occurred on this painting due to handling and stress over the years. I will add wax later on to reduce the reflectance of the varnish.
FINAL STEPS
At this point, the canvas planar, the portrait has been restretched, and varnish is applied. Now, I will deal with the paint losses that are visible on both the margins, and the face of the painting, through a process called filling and in painting.
AFTER TREATMENT